Rustic Christmas Tree Ornament DIY.
Hope your Holiday preparations are up and light up, but if you need a great idea to share with family, try this super easy ornament idea
:
To make this little tree you need materials that are very easy to find. There’s no need for precision, it’s the little imperfections and differences that give it character!
What you need: small branches, corrugated cardboard, jute string, hemp twine.

Start by cutting the branches into small pieces, making sure each piece is a little smaller than the next, stack them so you can see how they will progress from big to small.
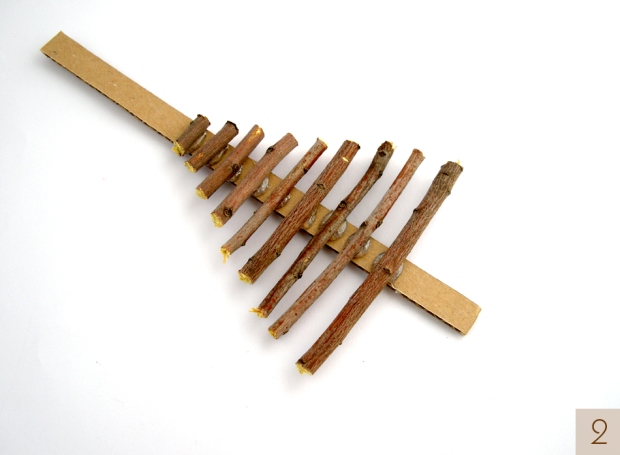
Next cut a strip of corrugated cardboard, it will be the tree’s trunk so you can pick a width that suits the sizes of the sticks you have cut. Make sure your cardboard is tall enough to fit the sticks you have cut.
Use a glue gun and add a dot of glue and start gluing your wooden sticks. Don’t forget to leave enough space at the bottom and as you glue the sticks leave a little space between each stick.
When you are done, let the glue cool off for a while and cut any excess cardboard, leave a small piece at the top and at the bottom.
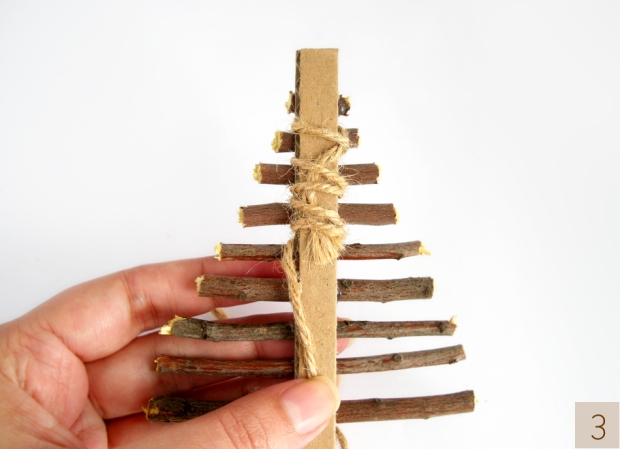
Then take the piece of jute. Starting at the top, tuck one edge on the back of the cardboard and start wrapping the jute around it covering the empty space between each branch. If the space is too big you can wrap it twice or even three times, just make sure you cover the glue and cardboard.

When you get to the bottom of the tree, you can glue the strand into place or split it into two strands and tie a knot.

Use a piece of hemp twine, pass it through the top holes of the cardboard and tie a knot to create a loop for hanging your ornament.

And your little rustic tree is ready!
Thanks to Aleka and Georgia from Fishes Make Wishes Home for this awesome and fun tutorial!

Wow! Perfect HOW-TO for children! Thank you)
I LOVE this idea! Thank you Aleka and Georgia for sharing!